Configure SCIM with the Saleo Okta app
Last updated: November 9, 2026
Use SCIM to provision users and groups from Okta into Consensus Live. The Okta Integration Network application is still named Saleo. An Okta group pushed through this integration becomes a team.
Create the SCIM token
As a Consensus Live admin, open Settings → Company Settings.
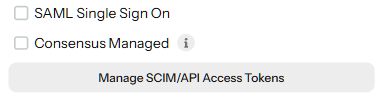
Select Manage SCIM/API Access Tokens.
Select Create New SCIM Token and follow the prompts.
Store the token securely for your Okta administrator.
Use a SCIM token for provisioning. An API token is a separate credential. Deactivating a token is irreversible; a replacement is needed to restore access through that credential.
Configure provisioning in Okta
Open the Saleo app’s Provisioning tab.
Select Configure API Integration, then Enable API integration.
Enter the SCIM token in API Token.
Select Test API Credentials. After a successful test, save.
Under Provisioning → To App, configure Create Users, Update User Attributes, and Deactivate Users for your intended provisioning policy, then save.
Review attribute mappings
Review the Saleo SCIM app’s mappings with your identity administrator. The provisioning configuration uses userName for the user’s email, active for account status, name.givenName and name.familyName for names, and userType for access level.
userType | Access |
|---|---|
admin | Admin |
user | Demo Creation |
view | Sales |
The userType value must match one of these supported values. Keep it consistent with seatType in the SAML configuration when using both integrations.
Test before broad rollout
Provision a test assignment and confirm the user’s identity, status, and role in Company Settings. For groups, review the team provisioning guide. Contact Support if the token controls or provisioning feature are unavailable.